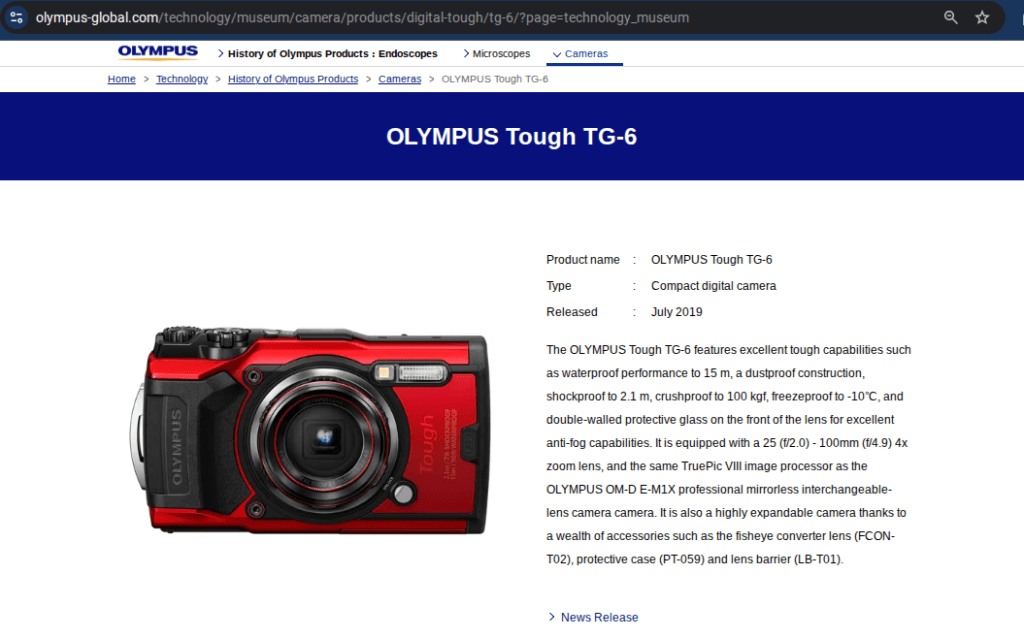
I am very aware that the quality of the photos on this blog aren’t exactly something to call the Pulitzer nomination committee about, which I’m working on. To this end, I bought an ‘OM Tough TG-6’ camera for bringing on rides, with the idea being that it would improve the blog without leaving me constantly paranoid about the state of the gear. This is what I learned from doing so.
Amended note 1230 8/8/25
The camera was set to take photos in RAW, which I thought would improve the quality. It seems I may have been better off keeping them in JPEG and letting the camera unit itself do more processing legwork. As I mention, I don’t really want to get in to in depth photo editing beyond cropping etc so this was probably something I shouldn’t have done. Oh well! Thank you /u/BeardedBaldMan on reddit.
End note.
The camera and why I chose it
In order to make a shrewd decision, I made up some criteria to try to ensure I’d get something suitable for my real, not imagined requirements. These were:
- Robust enough to survive my bike rides. I wasn’t planning on pounding it with rocks, but I did want to be happy with it bouncing around in a hip pack or bar bag
- Better quality images than my phone when rendered on this blog (Samsung Galaxy A34 could manage), especially while the subject and I are moving, and in darkness, which my phone currently renders in messy blurs
- Good enough output with massive amounts of labour and equipment-intensive editing
- not too expensive pls
On this basis I thought the TG-6, a ‘compact digital camera’, called a ‘point and shoot’ (isn’t that all cameras?) by some, would be a suitable compromise for the kinds of things I wanted to do.
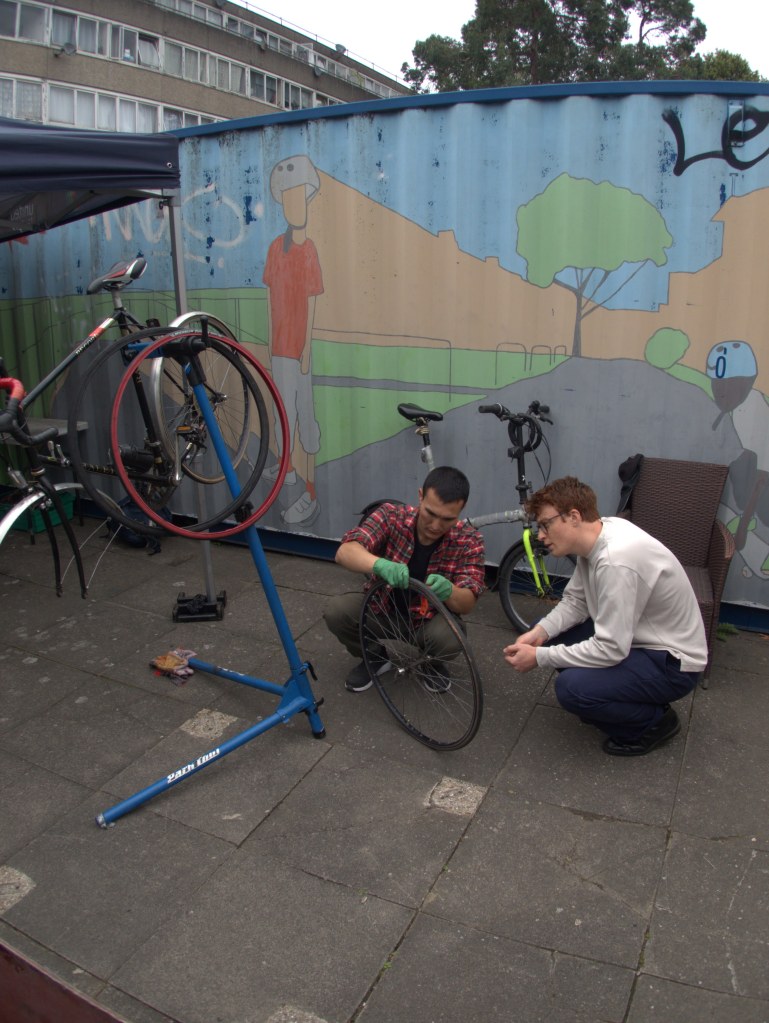
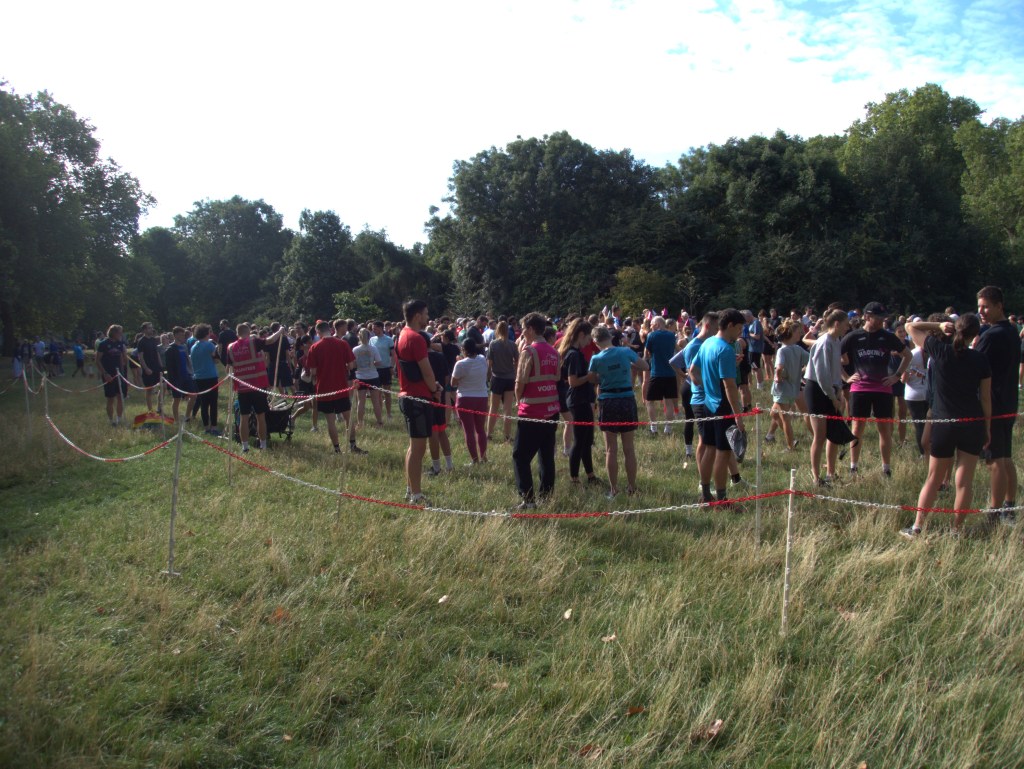
I got the camera for £300 off Wex, a photography gear selling website. I’ll post some of the photos I took as a ‘warm-up’ the following day, which was a Saturday featuring a parkrun, me going past the Black Unity Bike Ride, and a ‘bike fix’ shift with Community Cycleworks. Note: these are imported via the wordpress Google photos tool, so there will be some compression etc. This is something I planned on because frankly, I don’t have the gear or time to try and get the most high grade magazine quality photography possible.
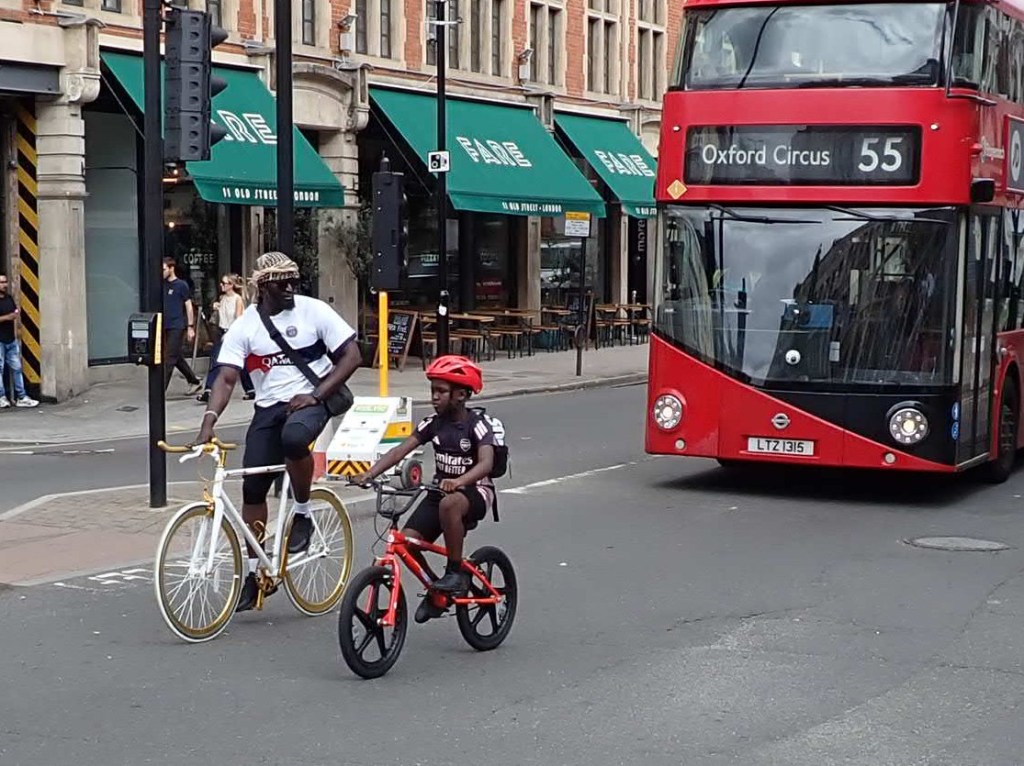
On the whole I just wasn’t quite getting the upgrade in quality from the camera I was hopinng for. For sure the camera survived nicely in my handlebar bag while cycling and it was very quick to take snaps. I found it significantly easier to one-hand-draw the camera, switch it on, and snap, than I did get my camera phone out, while cycling. Though I am looking at them on my laptop at a distance while writing this, and I’m thinking ‘actually these are OK I guess.’
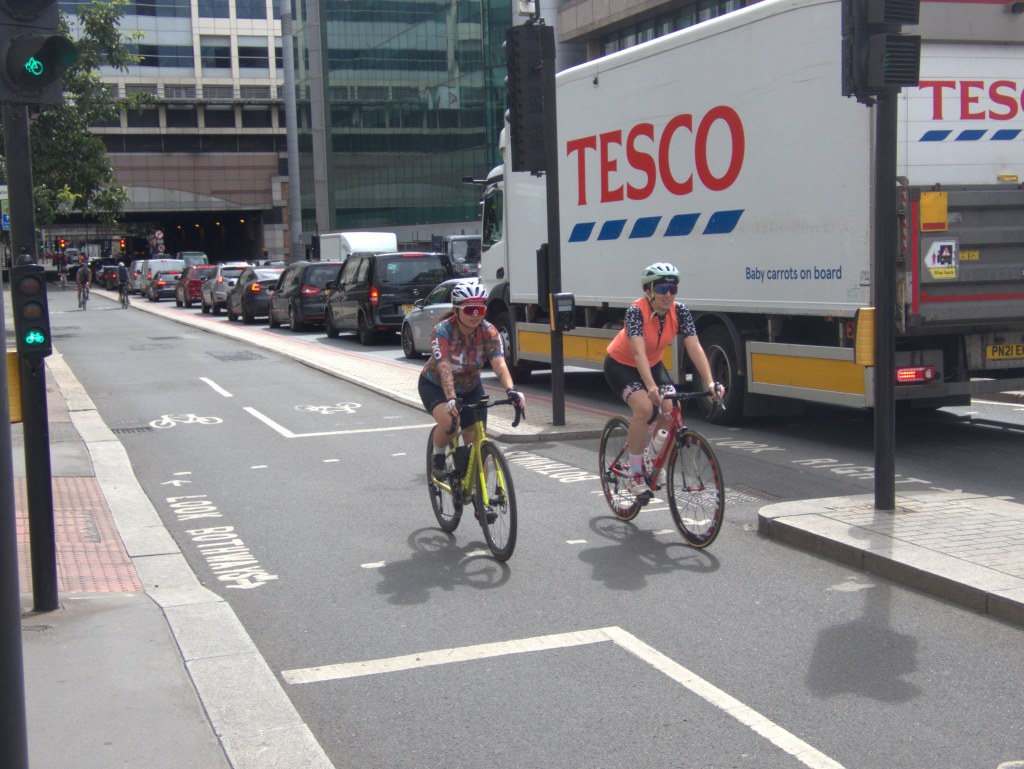
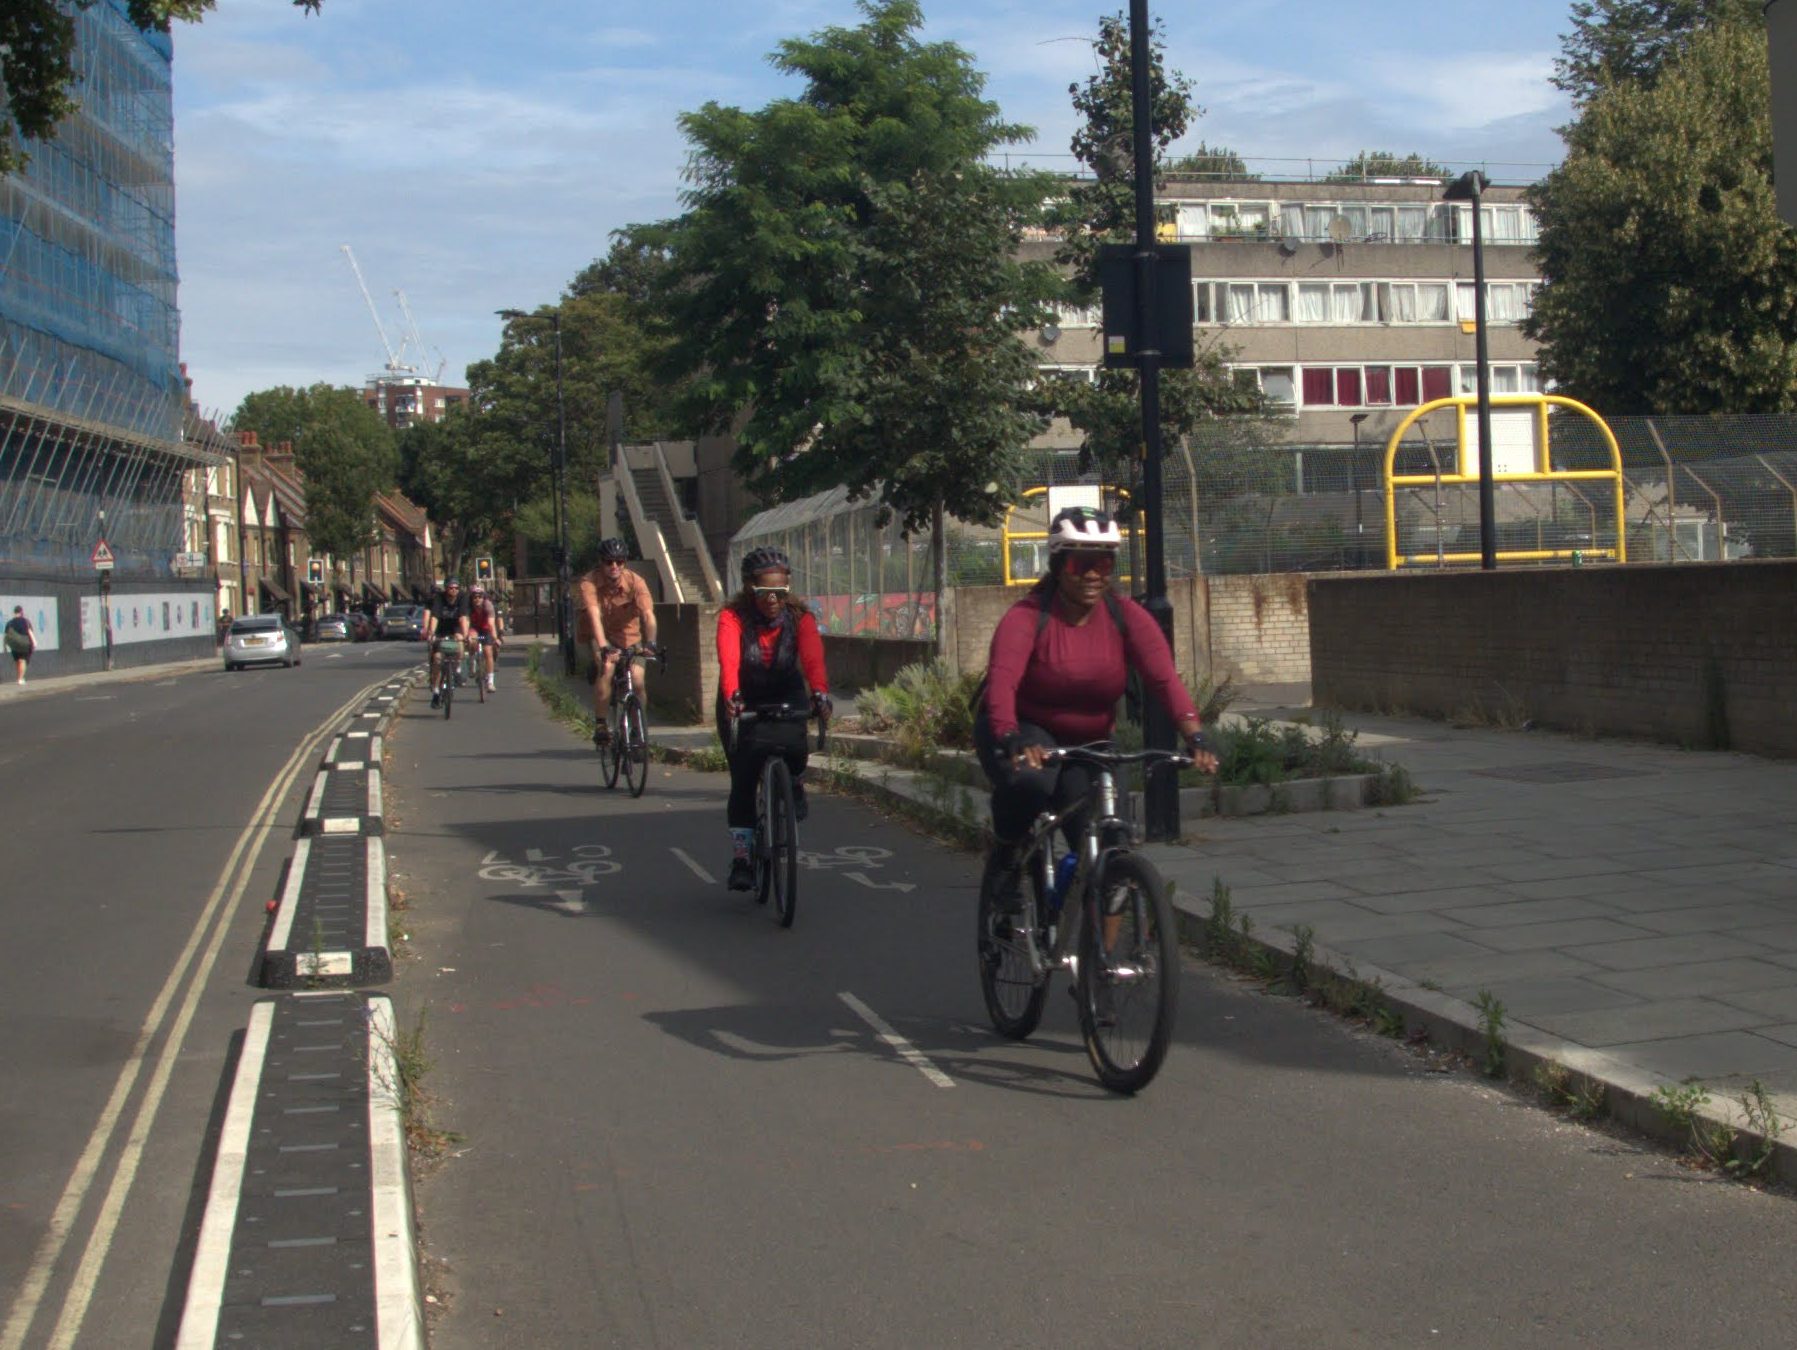
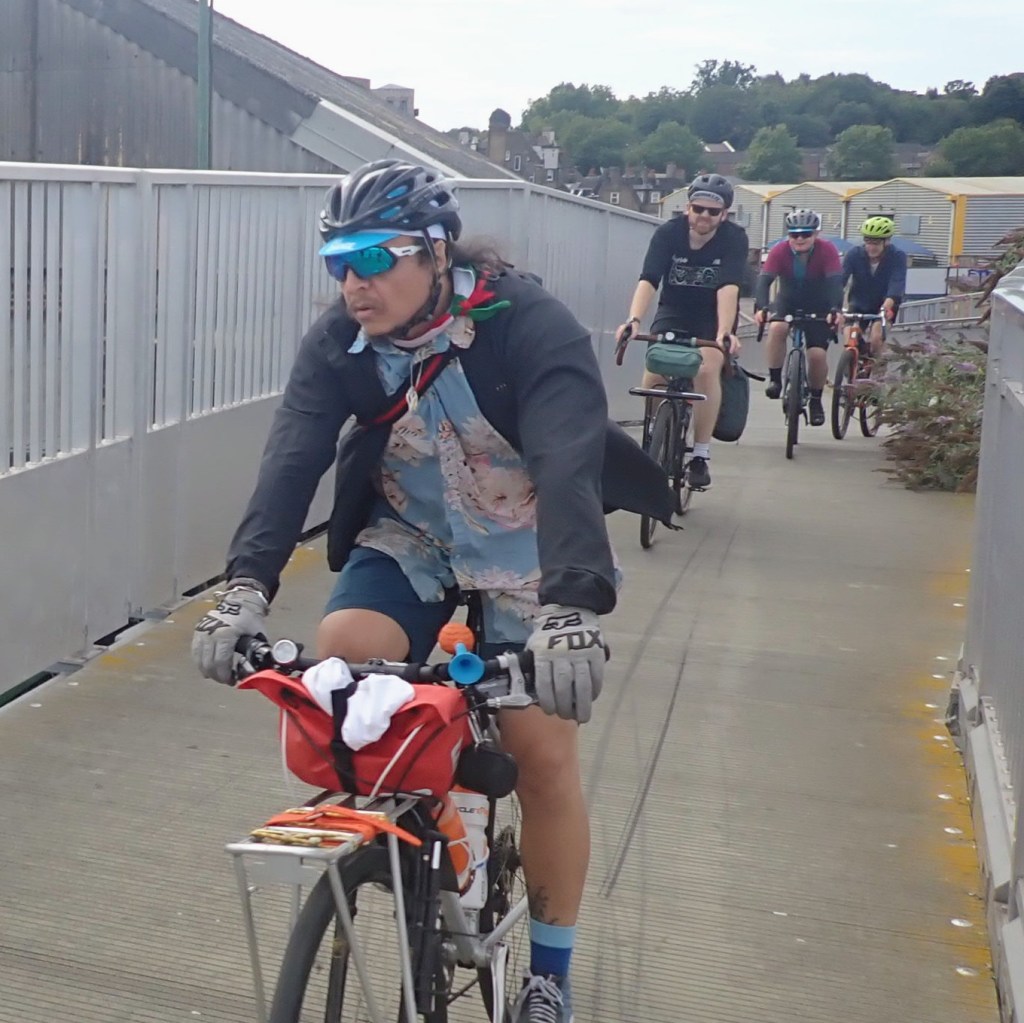
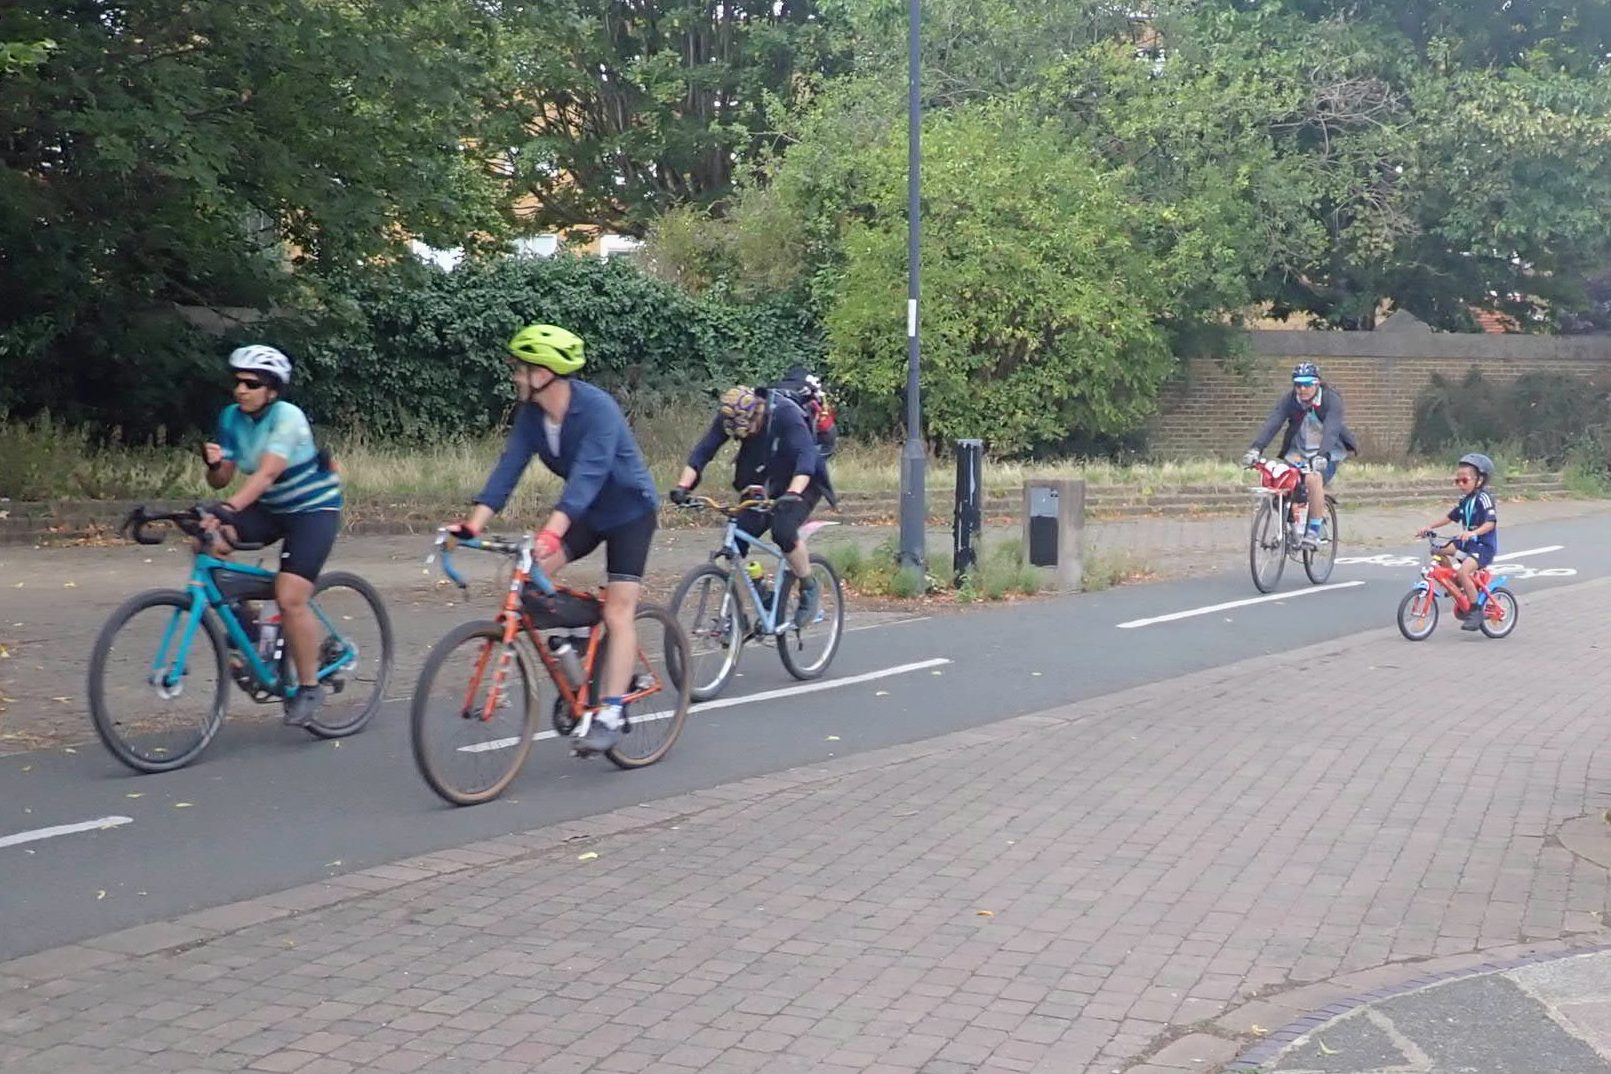
However, one last photo I was a bit disappointed with is the one below. Riding north from Burgess Park at 1800, I was passed by a coterie of skaters and wrangled the camera out in time for a snap or two. The camera did its best, but there is still blu,r and the images are a bit washed out. This was the exact kind of scenario I wanted a camera to provide quality output in, and looking at it now, I just don’t think it’s quite there. You could call this a ‘skill issue’ with me not having the right skills with the camera’s settings or the zoom or whatever, but I think getting home and checking the stills out was the moment I decided this might not be the big improvement in quality I had hoped for.
I was heartened by how easy it was to transfer files to Google Photos, though. The TG-6 can generate an onboard wifi network, which files can transfer to one’s phone using the Olympus Android app. The bad news is the RAW files were about 12mb each, so transferring over 20 photos took about ten minutes. On one hand, this seemed like a price worth paying to avoid having to take SD cards out and risk contamination. But on the other this did definitely drain the battery on the camera quite a bit (nb the TG-6 charges via USB, which is great).

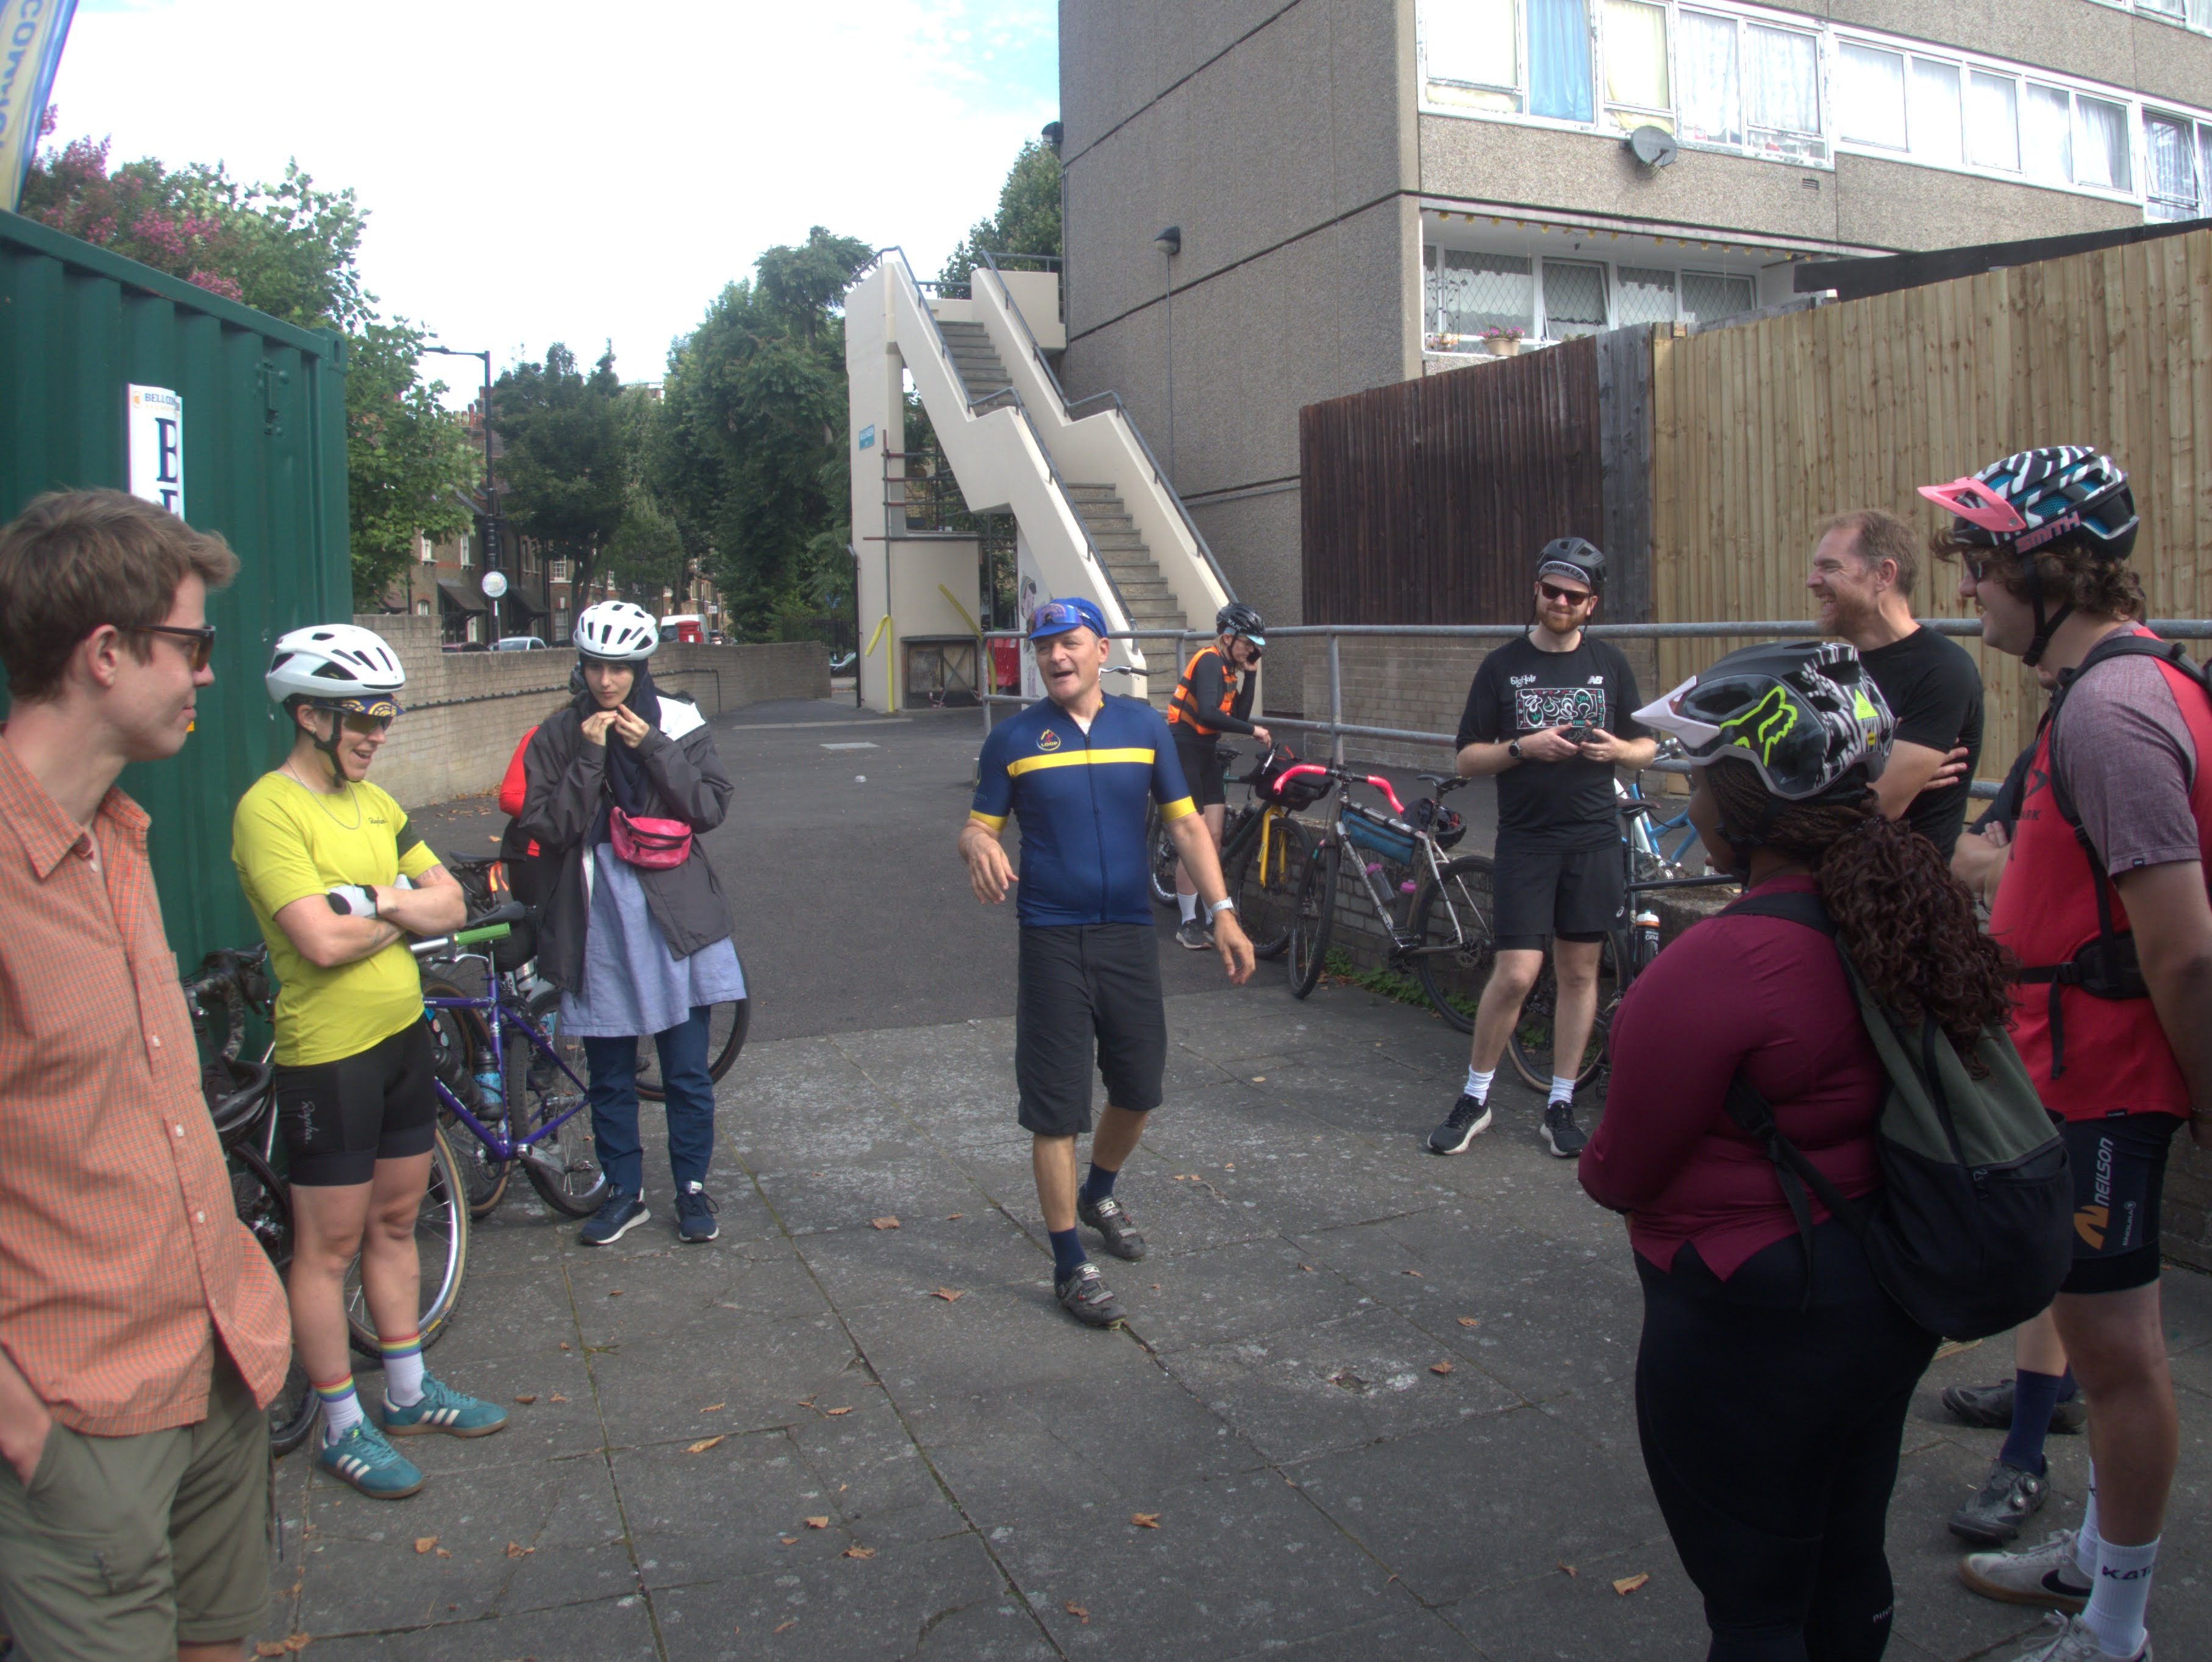
The start of the gravel ride I took it on
The next day (a Sunday) I went back down to Burgess Park. My Community Cycleworks colleagues had organised a 75 kilometre fundraising ride from Burgess Park. Burgess is the site of our ‘Bike Fix’ activities where people can turn up with bikes and do supported/supervised DIY maintennance using our tools and spares. Emily, the organiser, had planned a ‘gravel’ route from here to Snodland in Kent, where my CCW colleagues put on activities for people to progressively develop their MTB and BMX skills.
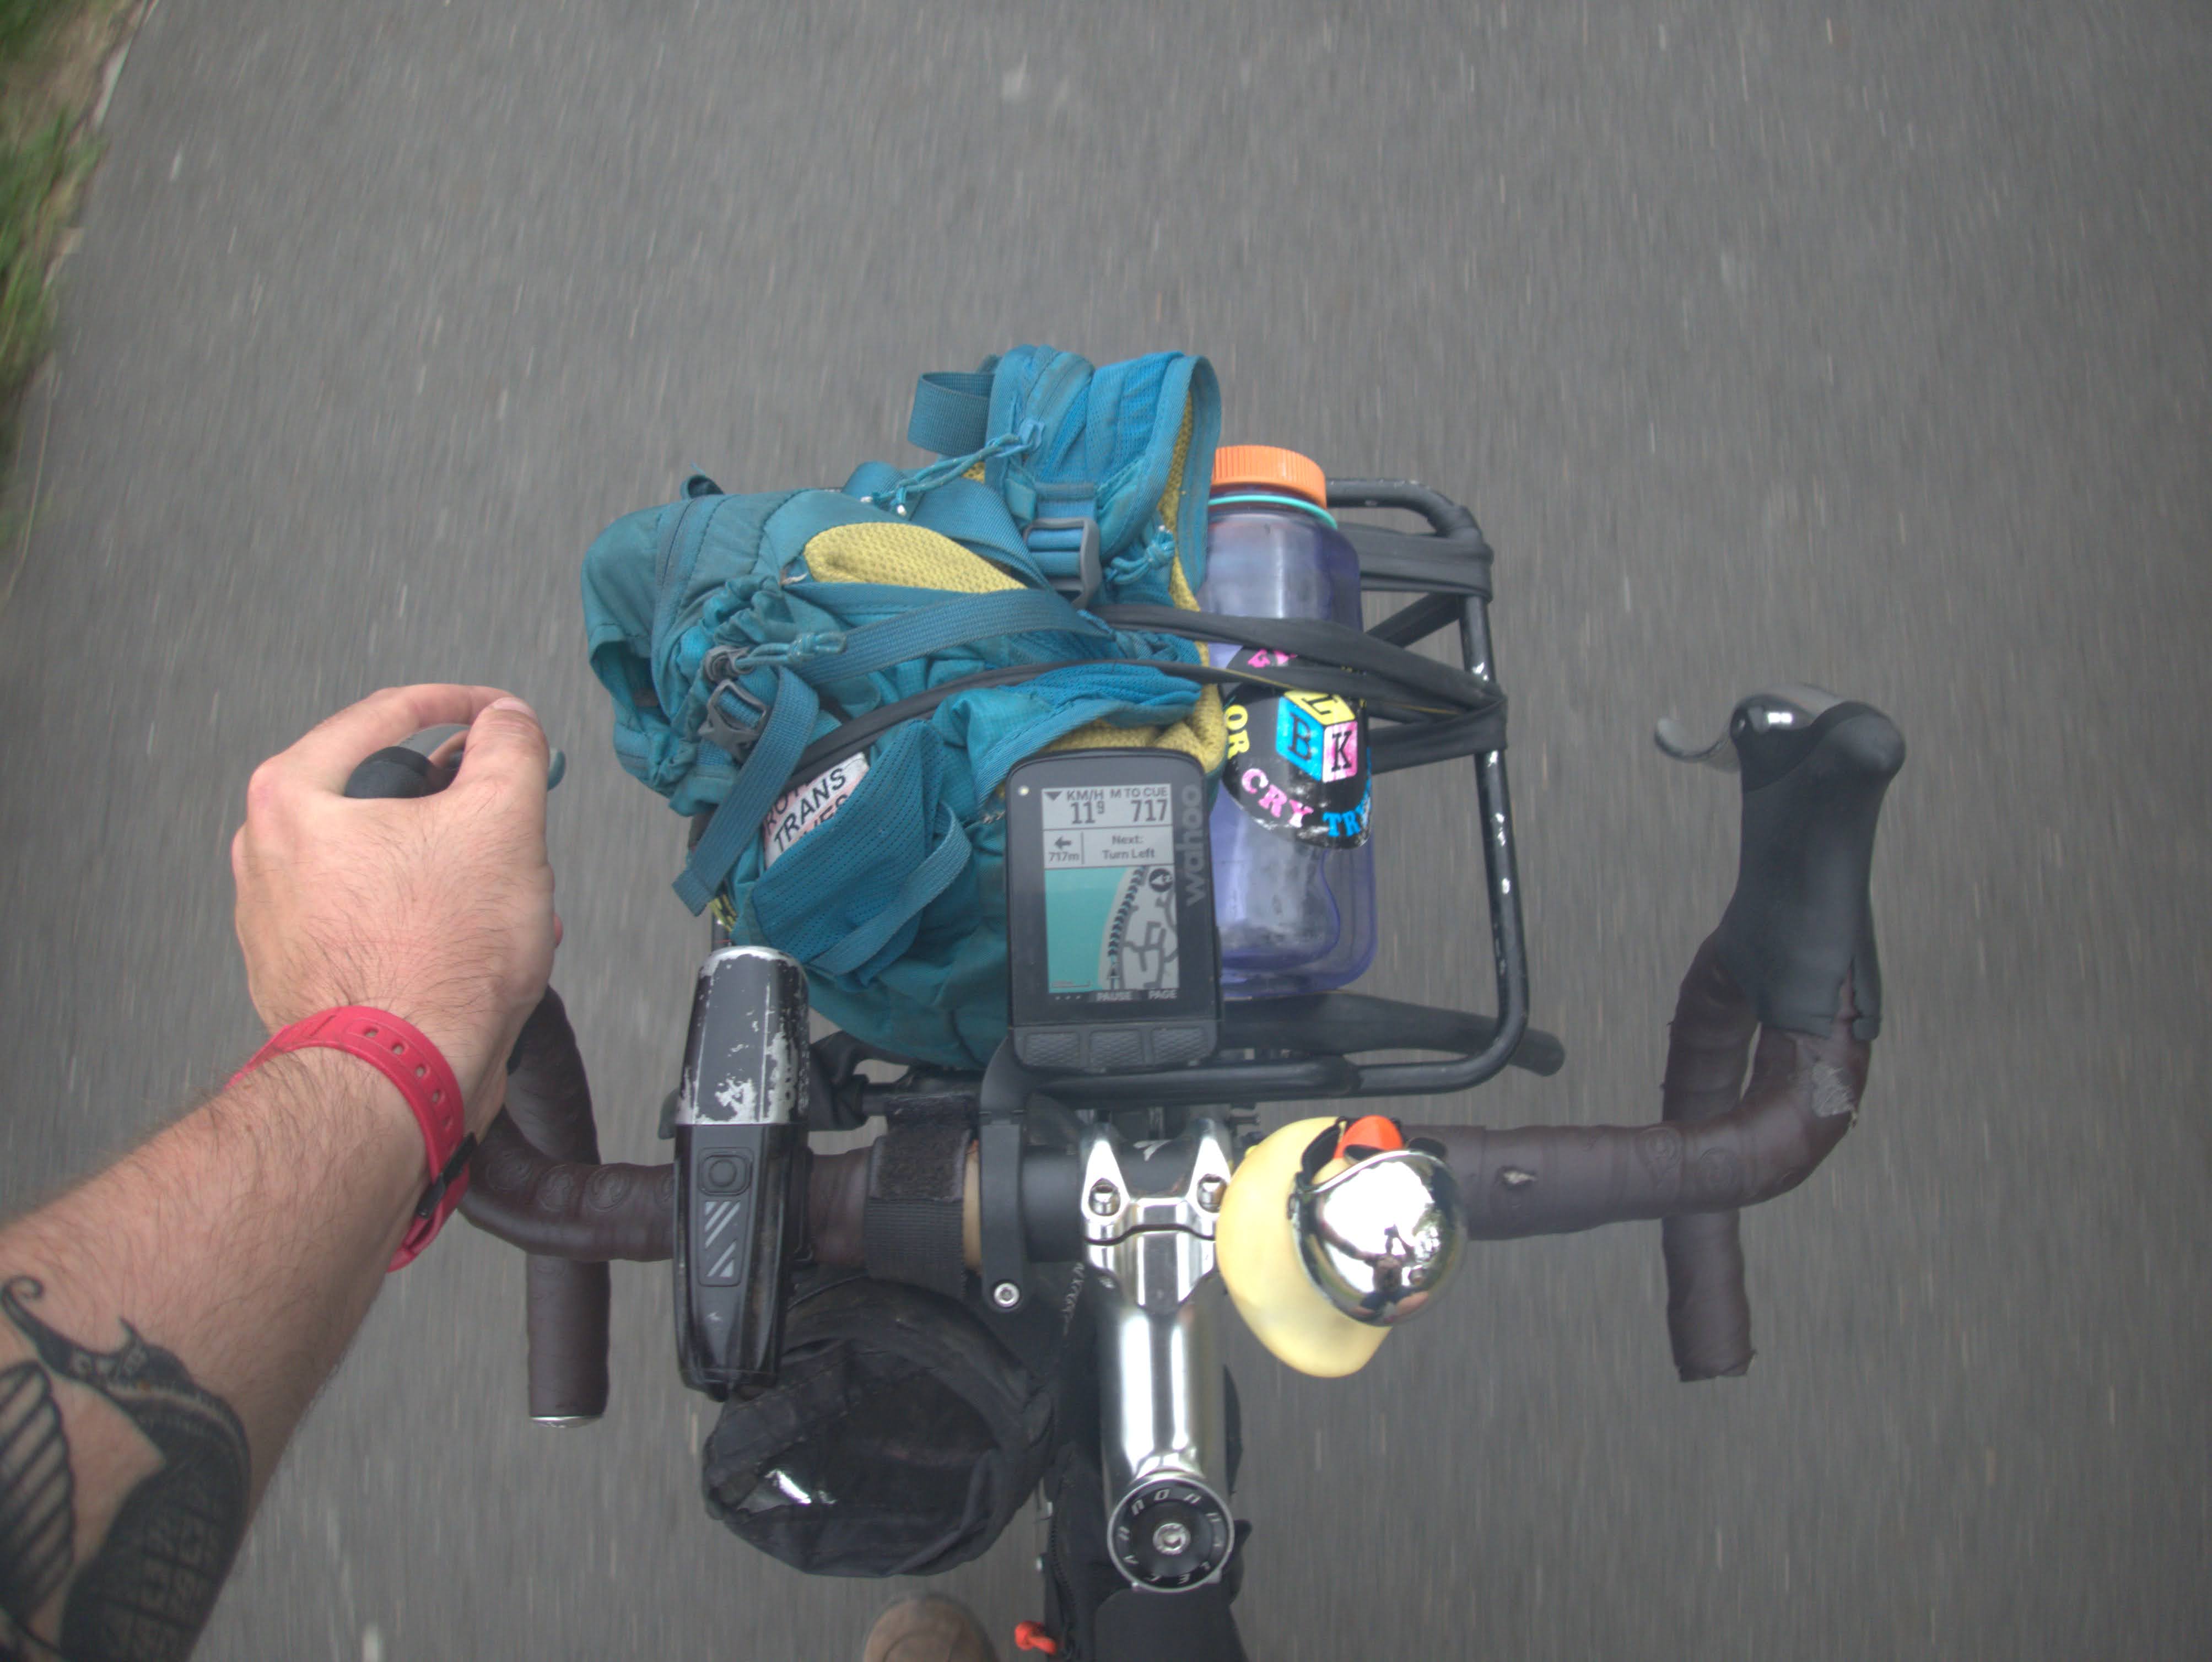
We gathered at 0900 and had some very delicious coffee and pastries, and then headed off using the .gpx Emily had provided us with in days prior. I trailed the group on the fixed gear bike and caught up at some other points. These are some of the snaps I got using the TG-6:
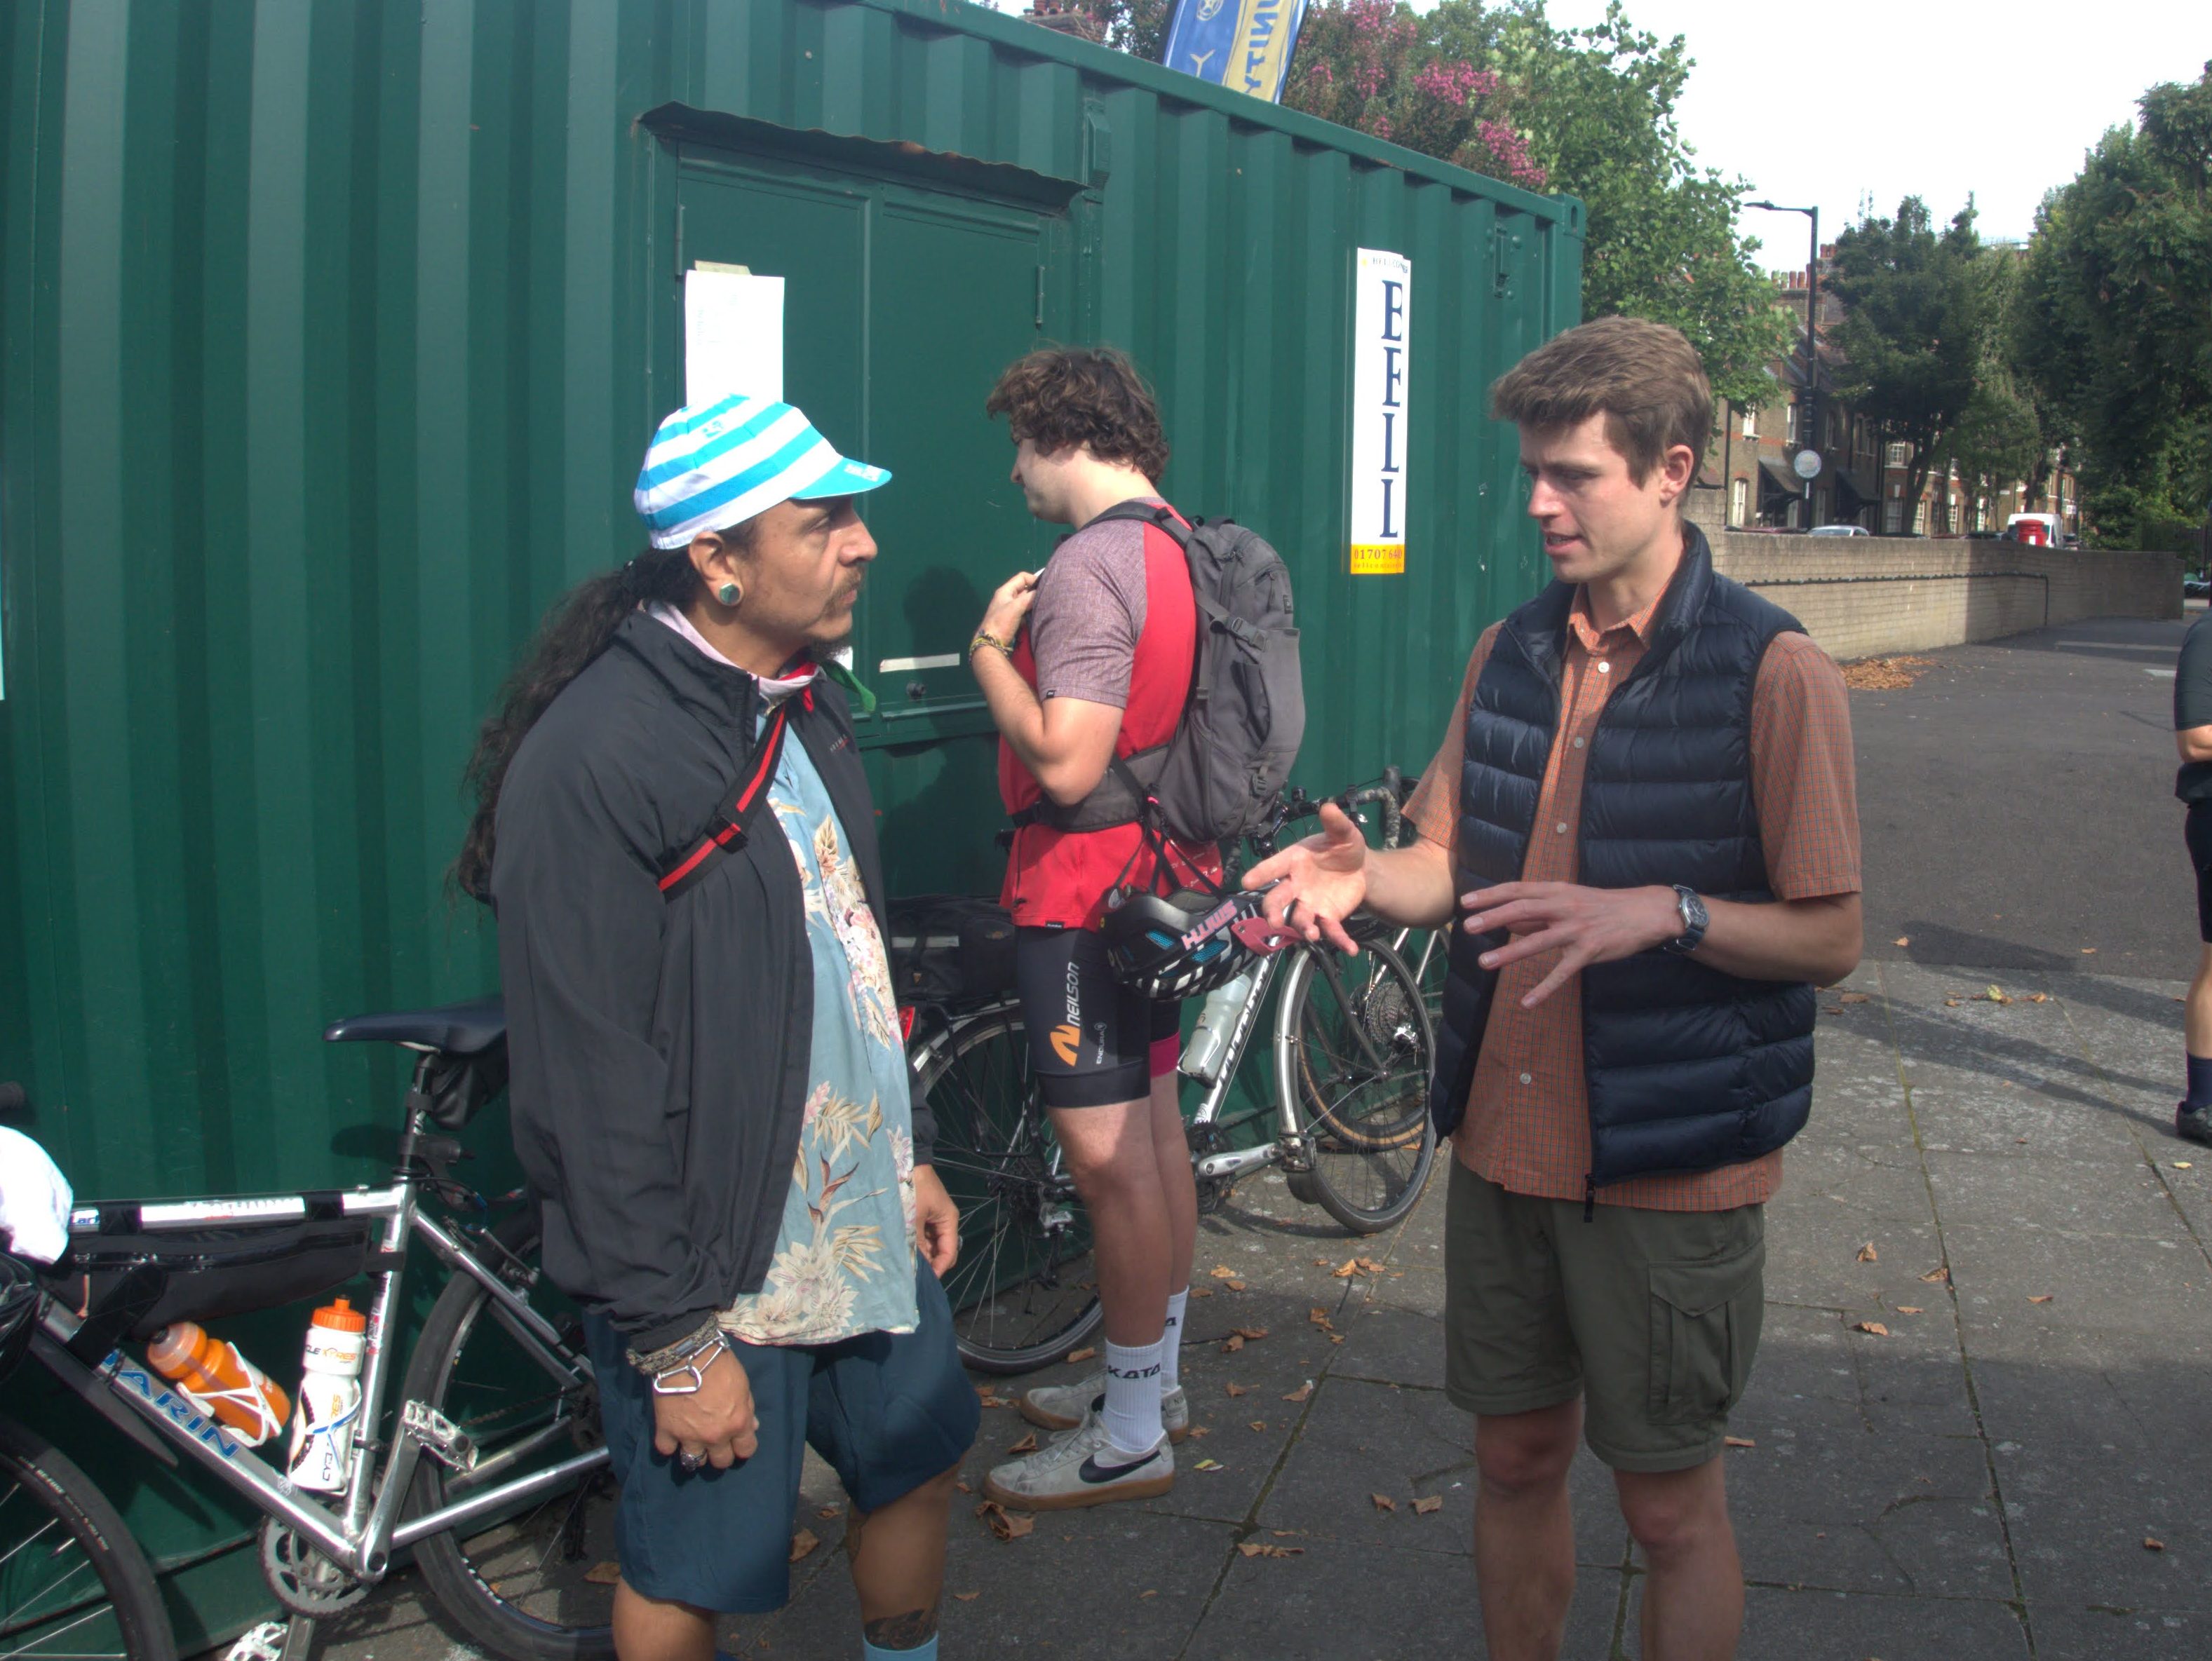

Again, the form factor of the TG-6 was tremendous. It fitted nicely in a handlebar bottle bag, and I thought I was on to a bit of a winner once I had some more practice. I found I could loop the hand strap over my Moon front light for extra retention if I was expecting lumps and bumps. To be honest I think it’s this kind of ‘close-up’ photography where the TG-6 does best, which makes sense since its lens just isn’t that big, and a lot of its fanbase are SCUBA divers who are getting up close to their subjects with strobes and what have you.
Getting in to the weeds with both camera and bike
My ‘gravel bike’ (more on this later) was still being built up when the ride came around. I thought bringing the hardtail would be way overkill, so I thought this would be an opportune time to try and flex the fixed gear bike’s off-roading capability for the gnar. The fixed gear bike can accommodate 700c x 38mm tyres or thereabouts. I ride on Vittoria Randonneur Cross 700c x 33mm tyres for the commute, which has bits of surfaced-but-slippy towpath. While their rolling resistance is hideous, they are very puncture-resistant and they were an internet freebie, so I kept them on. The gear ratio (44:16) was unchanged from the Dunwich Dynamo, partly because the route profile looked flat, but also because I didn’t have the inclination to do the work to lower the ratio for one ride.
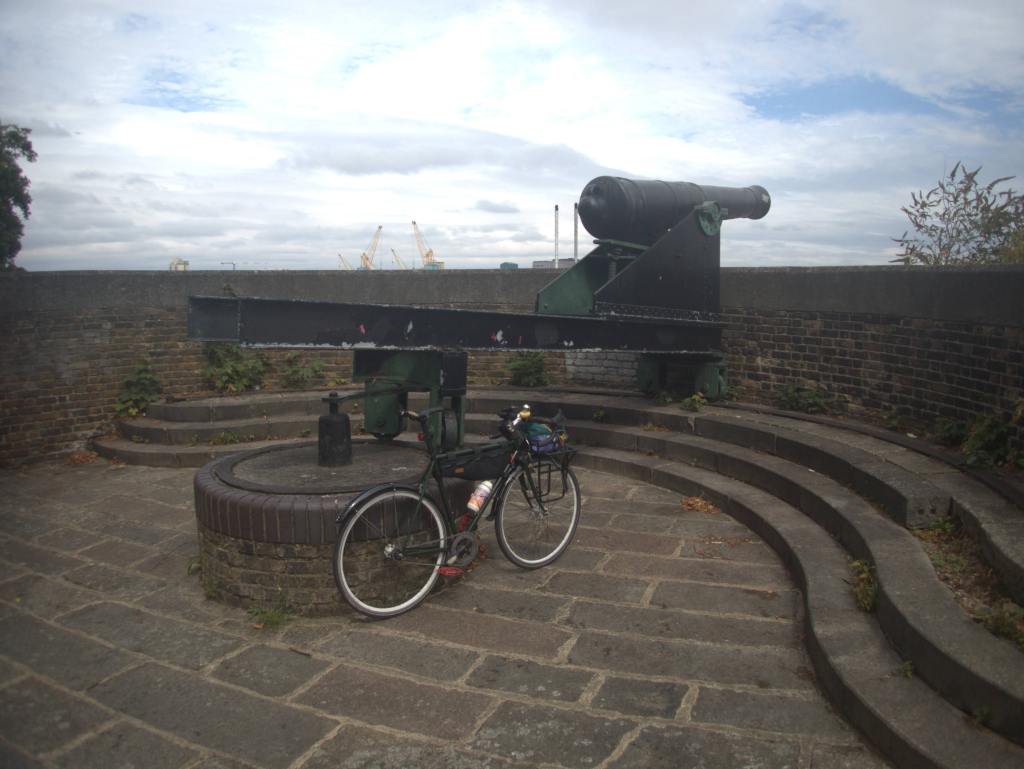
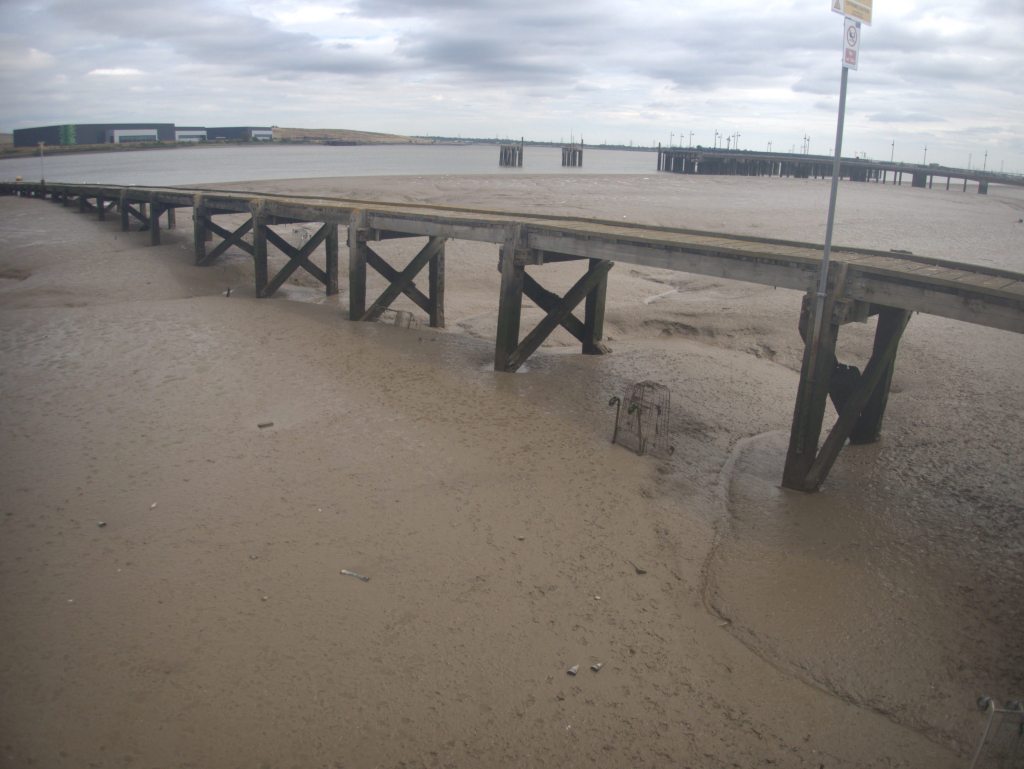
The tyres and gear ratio were the most salient factors about the bike as the ride went on, and the route got increasingly gravelly. Emily’s route took us from Burgess Park through Deptford on to the Thames Path, where we stayed until about as far as Dartford. I’d not gone on the Thames so far east before, and it was cool to see the changes as we rode further to the estuary.
I could have done with a lower ratio but I still think you could do worse as far as choices of bike go. My fixed gear bike has just one mechanically actuated brake on the front, with the drivetrain itself constituting a rear brake, so you have good braking power but with much reduced mechanical maintenance to keep up on. I am not going to repeat the Sheldon Brown ‘why fixed gear is so great’ essay here but I didn’t regret bringing this bike at all.
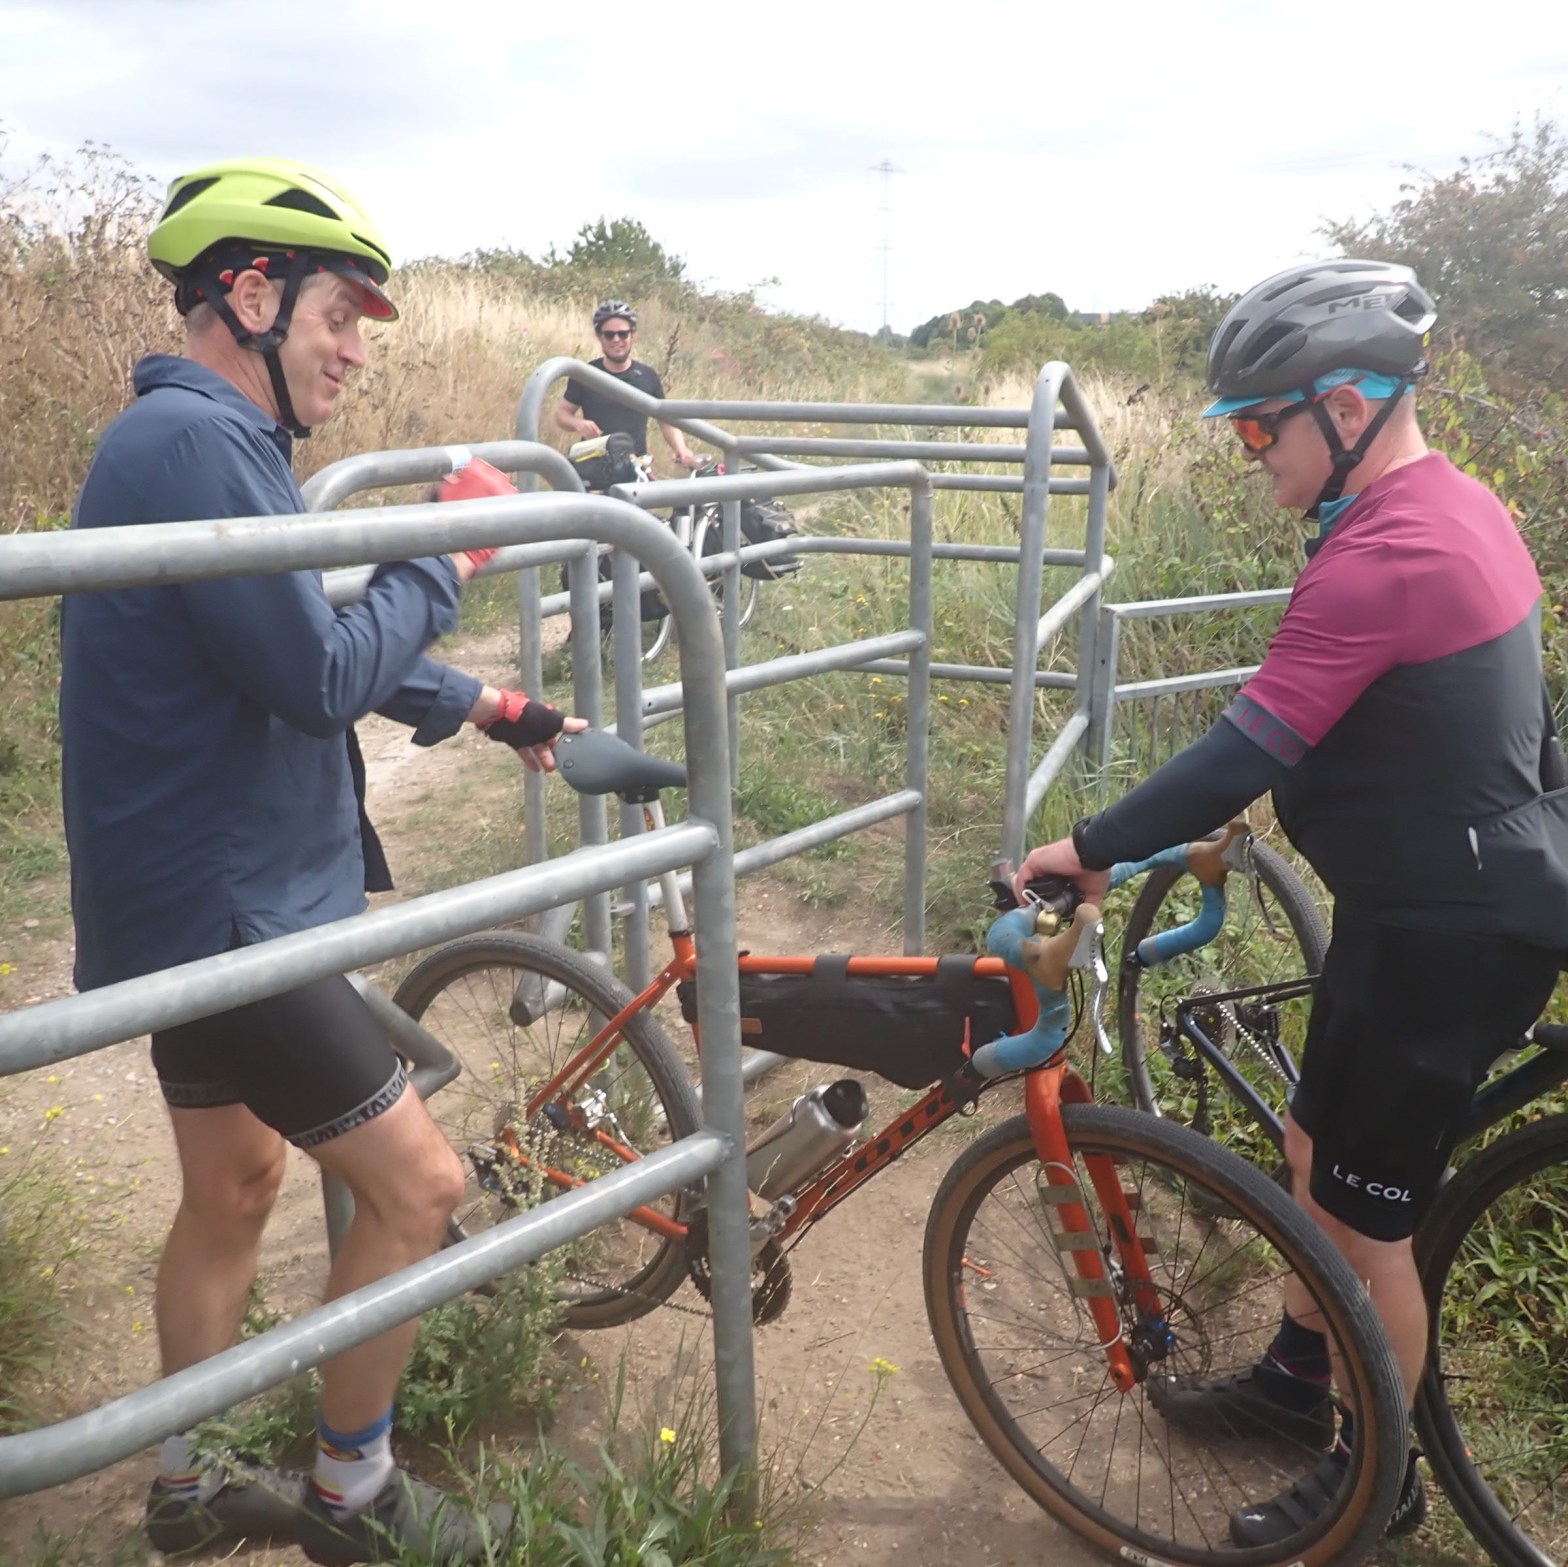
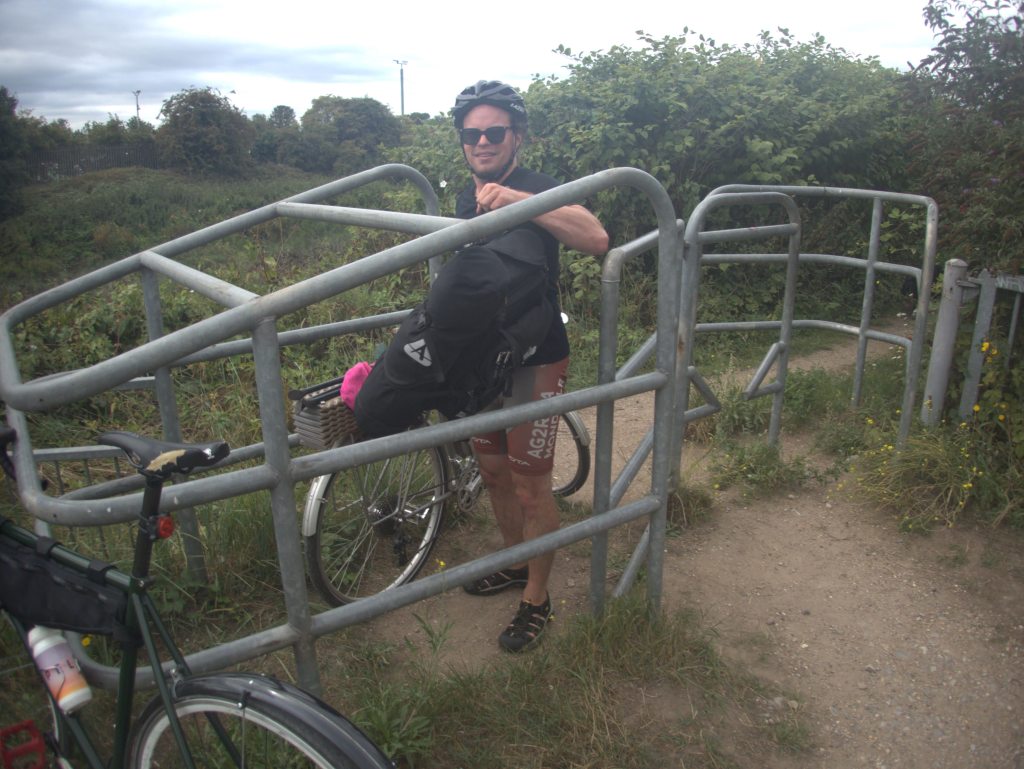
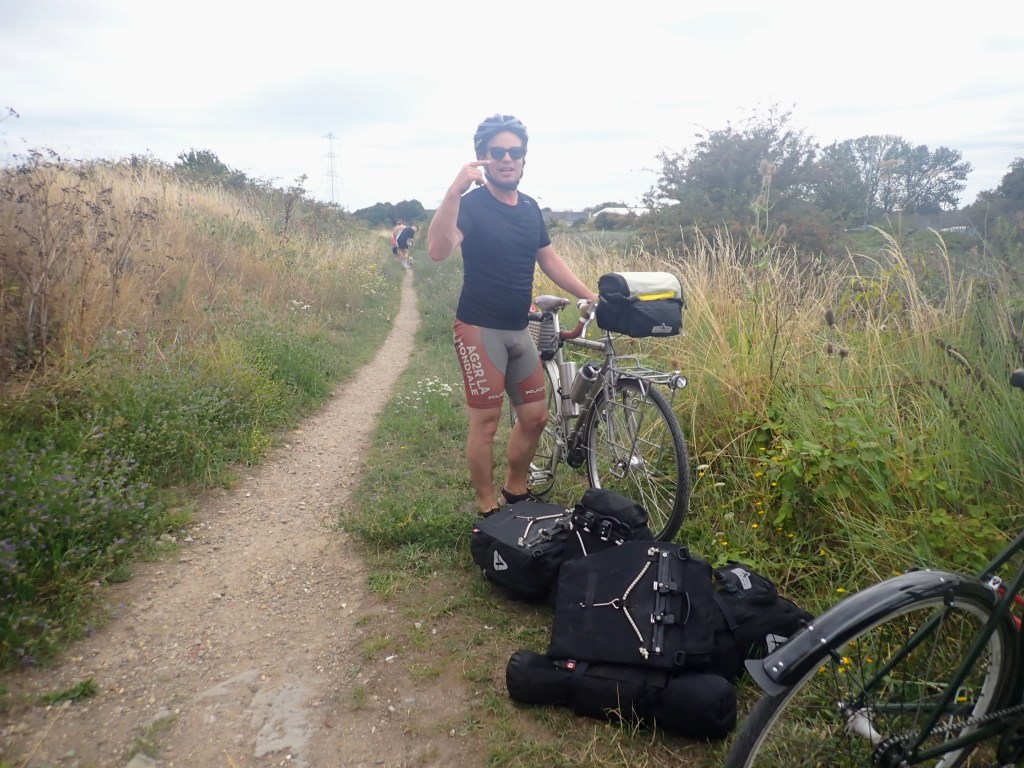
I got the camera out as we were riding along the Thames at various intervals, you can see the positives and negatives of the shots yourself. A highlight of the ride was meeting someone cycling from Dover to London (and from here on to Scotland by train) with their touring bike including panniers, who hadn’t reckoned on the wonders of our ‘national cycling network,’ who I helped get his bike over the steel barrier that obstructed him. I was let down a bit with the last one, which was much more fuzzy and unfocussed than I wanted.
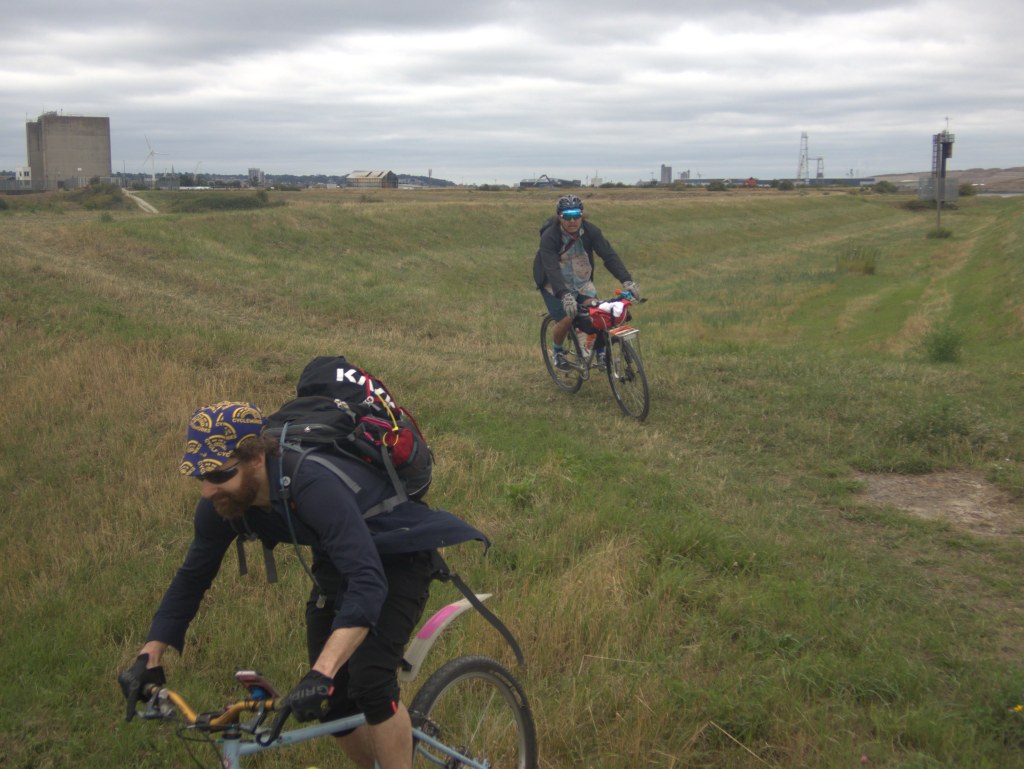

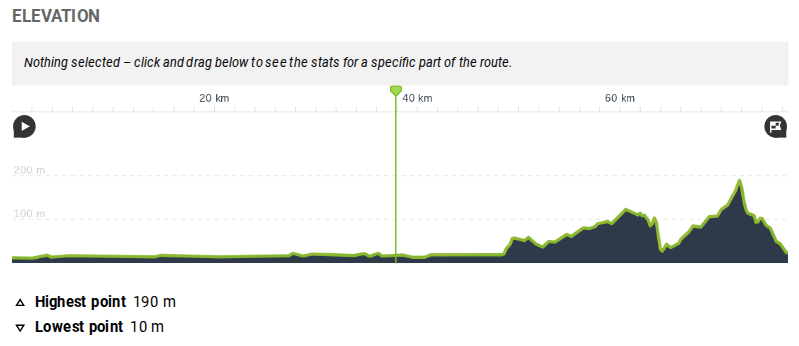
As far as the ride went regarding elevation, it was all pretty plain sailing as far as Dartford. From just after here, we headed south over the hills, where it got a Bit More Difficult for me. For the most part is just a matter of seeing what’s coming, getting a ‘run up,’ and locking in for a minute or two, but as the ride went on and on, there was one point where the bike just didn’t repond and I had to get off and push. Specifically, the 200 metres or so to its tallest point. I don’t think the Randonneur Cross tyres helped (they have a very small amount of knobble-ness, but it’s very slight) but either way I just didn’t have the engine for it and had to take a beat after I pushed to the top.
What was really funny was I thought everyone else was waiting for me at the finish, it later turned out they’d all stopped for a break so I got to the finish about 40 minutes before everyone else, aside for one speed demon who’d really gunned it there and had left an hour or so before. I was really thrilled to reach the finish line and had a lovely sit down with the provided catering, and enjoyed catching up with the other attendees who came through shortly after, having stopped and taken in the scenery at the Cyclopark just off Watling Street, which I’d gone straight past like a complete clown, having forgotten the info about the stop here from the organisers.
Conclusions and next steps re camera and bike
After a bit of meditation on it, I decided to return the camera to Wex. I had really enjoyed using it but the quality of the output just wasn’t that superior compared to my phone to warrant the £300 price tag. I do think if I were to go on a really gnarly adventure where the gear would be in real peril from the environment, while I want it to remain accessible for quick use, it would still be a good pick, but at the present, that isn’t me. A replacement item is coming and should be with me shortly. I am really interested in getting more to grips with photography, specifically with how it factors in on this blog.
Amendment. As per the amended note in the intro, the camera had been set to capture in RAW. I’ve been informed that this was probably unwise and I should have kept it in JPEG. Oh well, every day is a school day. End amendment.
The bike did really amazingly. I do think 44:16 is a bit high for when it gets truly off-road, but most of the ride was flat and it was fine. I do have a Miche carrier cog on the back of the track bike, so changing the gear ratio is theoretically not too difficult. That’s something for me to look in to in the future.
Can I have the route?
The vast majority of this route is publicly available as ‘the Thames path,’ which can be joined from Deptford or Greenwich or wherever.
Thank you again to Emily, Stewart, and the rest of the Community Cycleworks team who made this amazing ride happen. Read about our work here https://communitycycleworks.co.uk/
